Along with the rapid development of technology, one example is the development of internet technology. The development of the Internet started from Half a Century ago, the Internet is just a Military Defense project that continues to grow until now.
Now the Internet can be enjoyed by 63 percent of the world’s population. There are many positive impacts that people can take advantage of from the advancement of Internet technology. One of them is the ease of getting various information on the internet.
Of course, with the various positive impacts that come from the rapid development of the internet, there are also negative sides that arise such as the risk of leaking User Privacy Data when accessing sites on the internet. It is for this reason why DNS on Android has an important role to make surfing the internet easier.
DNS stands for Domain Name System. DNS is a system whose role is to store all domain information and data on the network. With the help of DNS, the domain will be translated into an IP address and then it will be accessible, and you don’t need to write down the ten-digit IP address in the browser.
How To Change DNS On Android
How to change DNS on an Android phone is very simple. Even you don’t need much time, you can do it. You just go into the Android phone settings.
Furthermore, you can directly set up DNS without root or need to connect to a VPN, DNS on Android phones has the function of requesting IP address information from a website.
So that when users access the internet, service providers cannot peek at the DNS that the user is using because it has been encrypted by the private DNS feature. So when Private DNS is active, we can access the internet quickly and safely from eavesdropping and leakage of user privacy data, even when using public networks such as WiFi.
When the user activates the DNS feature, internet users can access various sites that are blocked by the internet network operator.
There are several ways to change DNS on an Android device, depending on what version of Android you are using. Such as the following:
Changing DNS on Android 8 and Lower Devices
One way to change DNS on Android phones version 8 and below is quite easy to do. This method has the same functionality on Android 7 or 6.
It’s just that for the steps you can do there is a slight difference.
The steps you can take are as follows:
-
The first step you can take is to enter the Android settings menu
- Select the WiFi menu and tap the network for which you want to change DNS
- Change network tab > menu tab
- An option will appear on a new screen and you can choose to enter DNS address 8.8.8.8 to be able to use Google DNS
- Then you can save the tab so that the changes you made are saved and the Android DNS has been successfully replaced.
Changing DNS On Android 9 and Up Devices
It’s different again if you use how to change DNS on Android 9. The Android 9 version or the Pie operating system and above requires special steps.
You Can Choose One Of The Private Dns Provider Hostnames Below:
- 1dotldotldotl.cloudflare-dns.com (Cloudflare DNS doesn’t block all sites)
- dns.google (Google DNS doesn’t block all sites)
- dns.quad9.net (Quad9 DNS blocks dangerous sites)
- adult-filter-dns.cleanbrowsing.org (DNS CleanBrowsing blocks websites containing adult content)
- dns.adguard.com (blocks Internet ads that do not require installing any application)
After determining the DNS address that you will use, please follow these steps:
- The first step to change DNS is to open the settings menu on your Android
- Next you use the search bar, then type “DNS”
- Then click the DNS menu
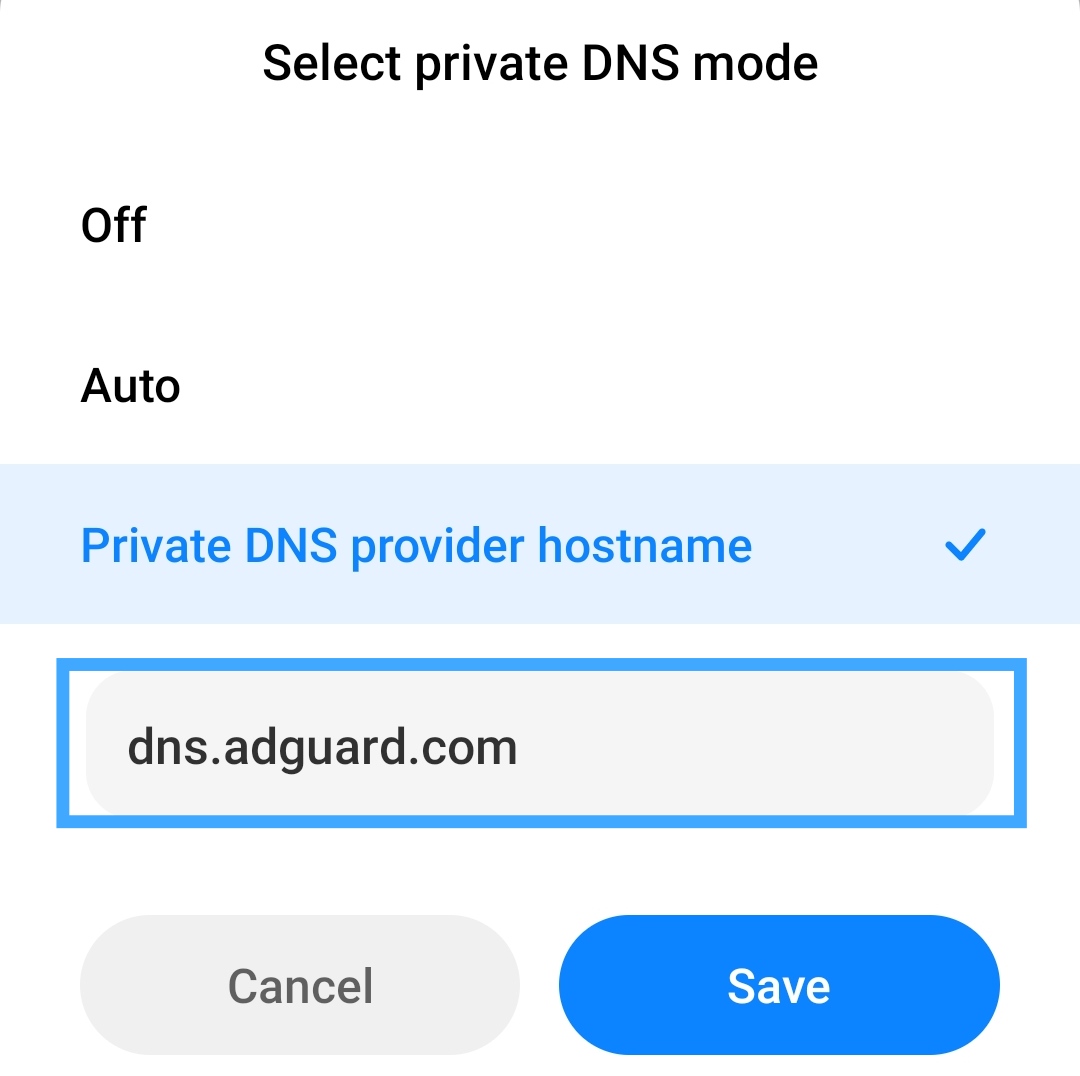
- On the Android screen usually 3 options will appear, please click the DNS provider host name
- then we select the hostname of the private DNS provider and we enter the configuration of one of the host names that I wrote above
- After that, we select save to activate it
Using Third Party Applications
Nowadays technology is increasingly advanced and developing, making many things you can do easily.
Besides you can change private DNS using the settings menu on your Android device, you can also use third-party applications available on the Google Playstore.
There are lots of third-party applications that you can use, but this article only shows/explains third-party applications that users often used.
Here is the application along with the steps to use it:
DNS Changer: Mobile Data, Wifi
DNS Changer is an application released in mid-2015 by BGNmobi, this application has been downloaded by more than 10 million users from all over the world and only supports the Android operating system version 4.4 and above.
DNS Changer is the simplest way to change your DNS and test DNS server speed. Works without root and works for WiFi and Mobile Network Data Connections.
DNS Changer changes the DNS address of your device, this app does not affect internet connection speed. So, it is faster than a regular VPN.
Features on the app:
- Works for both rooted and non-rooted devices. ️
- Does not consume any system resources (RAM/CPU/Battery etc.)
- Provides Many Options Hostname DNS provider
- Very Simple Application UI Display
- There are Free and Paid Features Features
- DNS speed to find the fastest server Support WiFi / Mobile Data Network (2G/3G/4G/5G)
The steps you can take are:
- Your first step is to download and install the DNS Changer application on the Google Playstore. ️
- Then open the application and select the Choose a DSN provider menu
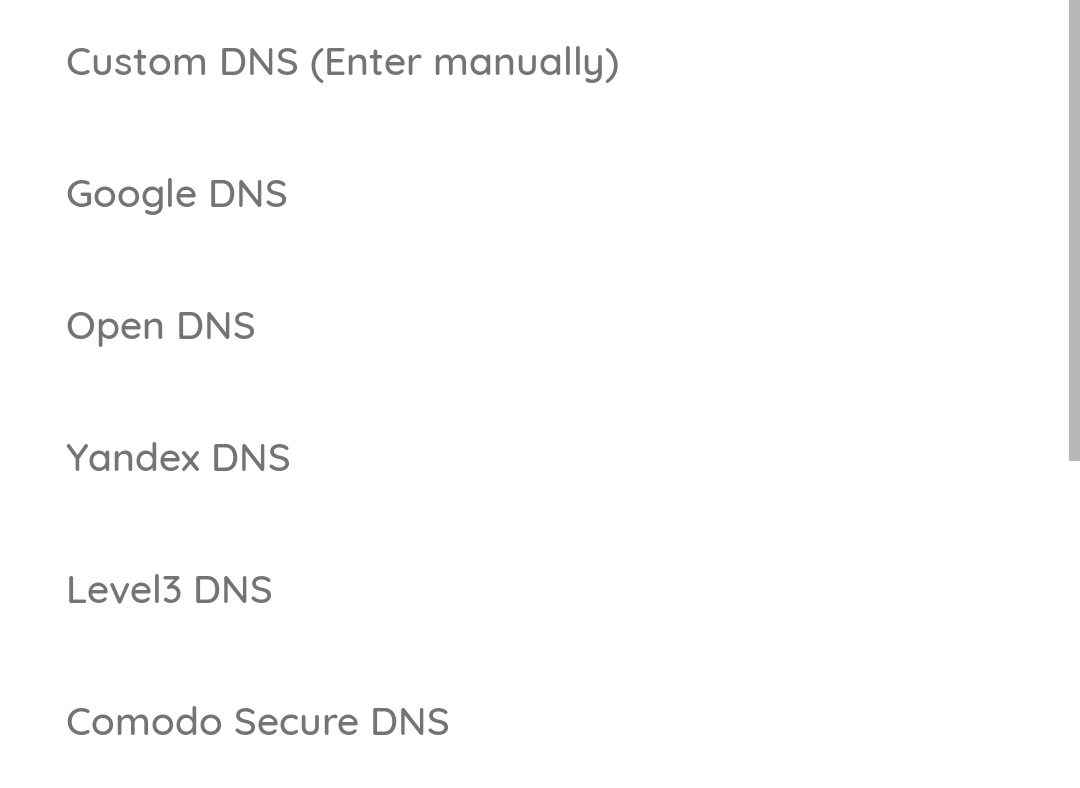
- After that, several DNS will appear that you can use, please select one.
- The DNS 1 and 2 columns will fill in the IP address automatically and you can change it as needed
- After that click the save button
1.1.1.1: Faster & Safer Internet
This application supports android operating system version 5.0 and above. This application was developed by Cloudflare, Inc. and has been downloaded by more than 100 million users worldwide.
With this 1.1.1.1 application you can make your connection feel fastest, more private and stable for all kinds of internet providers. 1.1.1.1 with WARP makes the user’s Internet more private and secure.
By using the 1.1.1.1 application no one can peek at what you are doing on the Internet.
Features on the app:
This DNS application itself prioritizes the speed and security of your privacy for browsing. That way you can connect to a fast and secure internet network.
So you don’t have to worry about the fastest DNS performance from Cloudflare.
The steps you can take are:
- First, you have to download and install this application on google playstore
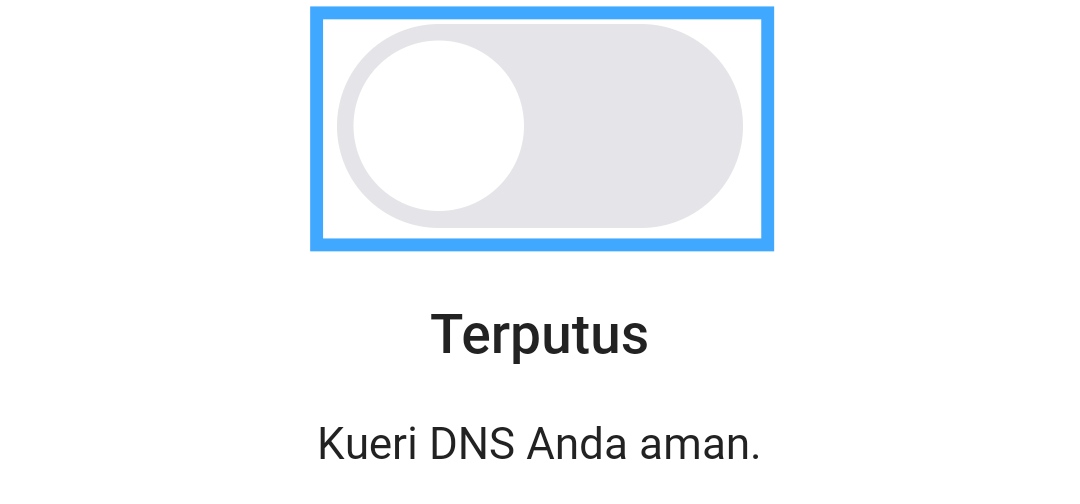
- After that, you just click the “Switch On” button on the page.
- Done, Good Luck
Closing
That’s the article that I can write. if you as a reader feel this article has shortcomings and incompatibility, it is expected to write your criticisms and suggestions in the comments column.
Thank you
Reference list
- Rahayu, Sri. 2022.”Cara Mengganti DNS di Android dengan Langkah Mudah Pemula pun Bisa”. Diakses dari https://www.google.com/amp/s/www.harapanrakyat.com/2022/05/cara-mengganti-dns-di-android/amp/
- Azis, Ibnu. 2021.”Cara Setting DNS 1.1.1.1 untuk Browsing Lebih Cepat dan Aman”. Diakses dari https://www.google.com/amp/s/amp.tirto.id/cara-setting-dns-1111-untuk-browsing-lebih-cepat-dan-aman-cHag
- Ariffudin, Muhammad. 2021.”6+ Rekomendasi DNS Tercepat [Update 2022]”. Diakses dari https://www.google.com/amp/s/www.niagahoster.co.id/blog/dns-tercepat/
- How To Tekno. 2022.”DNS Pribadi adalah: Pengertian dan Cara Menggunakannya”. Diakses dari https://m.kumparan.com/how-to-tekno/dns-pribadi-adalah-pengertian-dan-cara-menggunakannya-1xsB1iYs3m9/full
- Setya, Farizal. 2022. “3 Cara Mengganti DNS di HP Android Paling Mudah dan Tercepat”. Diakses dari https://eztekno.com/cara-mengganti-dns-di-android/
- Amira. 2022.”5 Cara Ganti DNS Android Sendiri”. Diakses dari https://officialjimbreuer.com/cara-ganti-dns-android/
Tekkun.”Aplikasi Pengubah DNS terbaik di HP Android”. Diakses dari https://bersamatekno.com/aplikasi-android/aplikasi-pengubah-dns-hp/


